

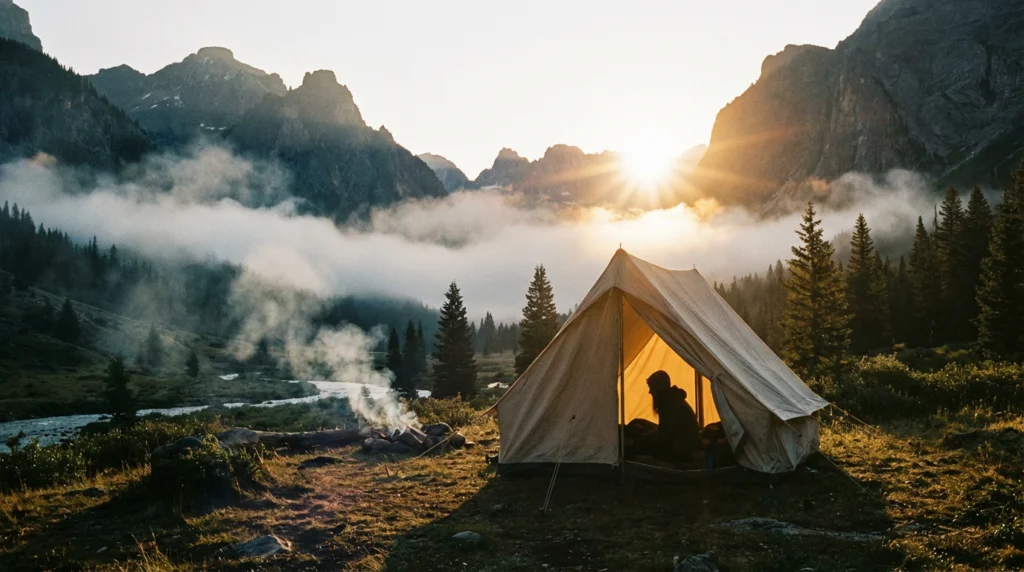
Campsite Selection Safety: How to Assess Environmental Hazards
You've driven three hours, hiked six miles, and the light is going fast. There is a flat clearing right there, ...
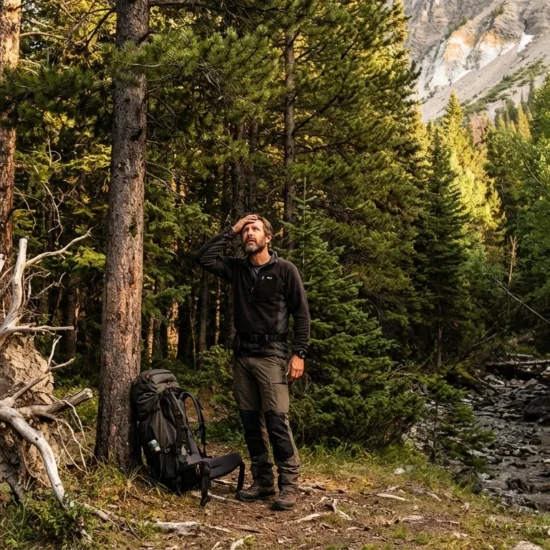
Solo Camping Safety : The Complete Preparedness Checklist
Nobody tells you about the silence. Not the peaceful kind, the kind where you realize that if something goes wrong ...
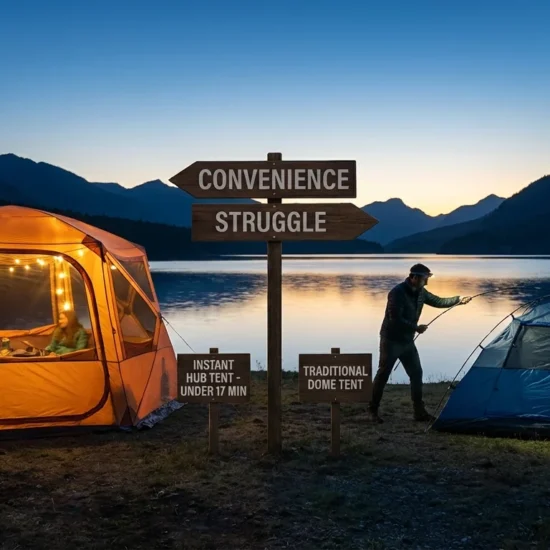
Instant Setup Tents: Are They Worth It in 2026?
Here is a situation most campers know: you pull into the campsite at 7 PM after a three-hour drive with ...
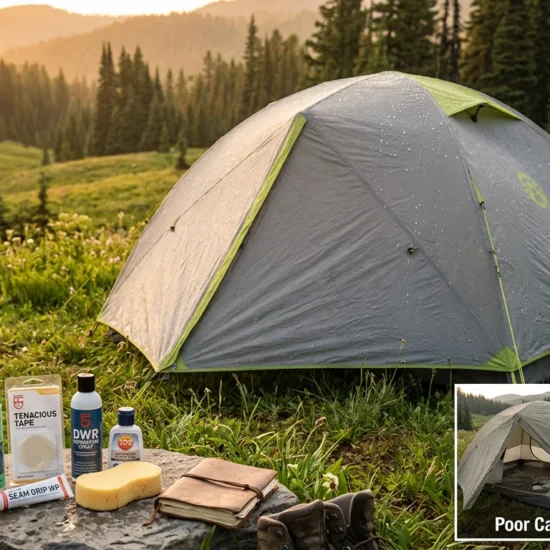
Camping Tents Lifespan, How Long Do Shelter’s Lasts ?
Three seasons into owning a $400 backpacking tent, a friend of mine noticed water pooling on her sleeping bag during ...
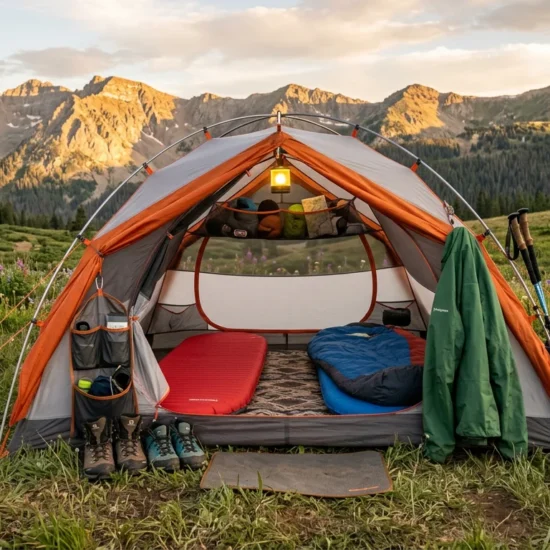
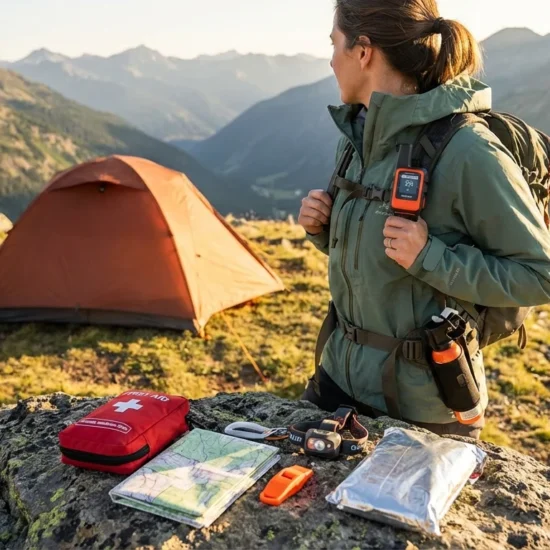
10 Essential Tent Accessories That Upgrade Your Camping Shelter
Picture this: you're inside a perfectly good tent at 9 PM, unable to find your headlamp because everything you own ...
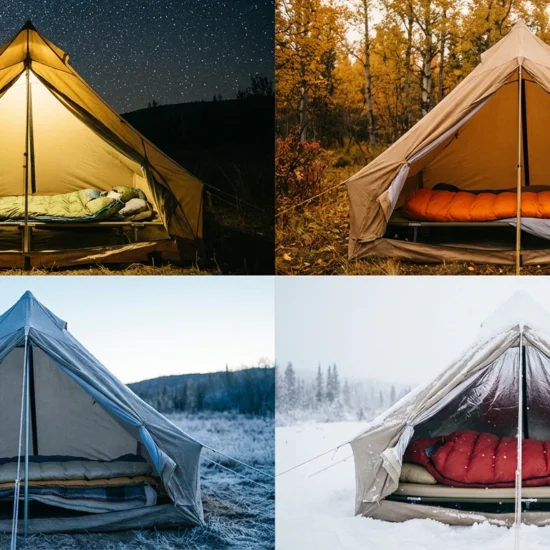
4 Season Camp Sleep System: Year-Round Comfort Strategies
Let me give you a number that changed how I design my camp sleep systems: 37 degrees Fahrenheit. That's the internal ...
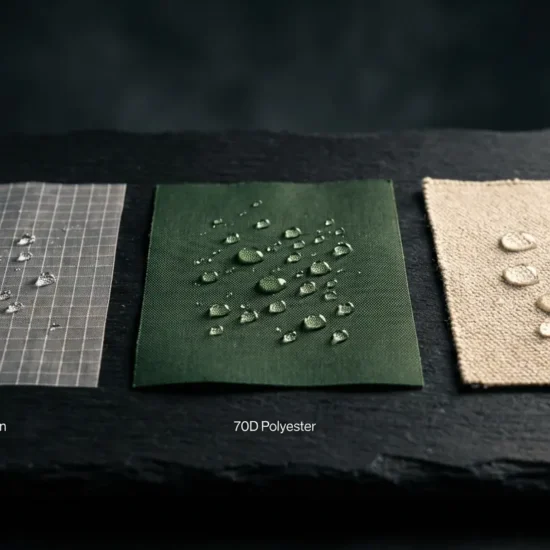
Understanding Tent Fabric: A Deep Dive into Nylon, Polyester, and Canvas Camping Shelters
Most people buy a tent the same way they buy a winter coat they look at the color, check the ...
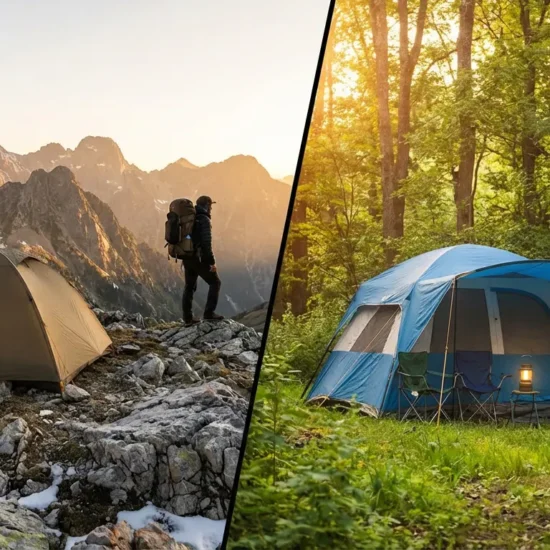
Backpacking Tents vs. Car Camping Tents: Key Differences in Lightweight Camping Shelters
Weight is either the most important number on a tent's spec sheet or completely irrelevant. Which one depends entirely on ...
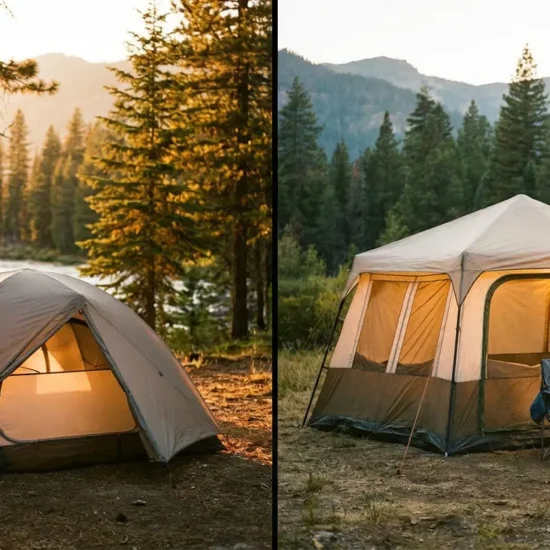
Dome Tents vs. Cabin Tents: Which Camping Shelter is Right for Your Trip?
Picture two campers at the same campground. One is crouched inside a tight dome tent, wrestling a sleeping bag into ...

Choosing Your Perfect Camp Sleep System
Last fall, I watched a couple in their sixties pull a twelve-pound canvas wall tent out of their Subaru at ...