

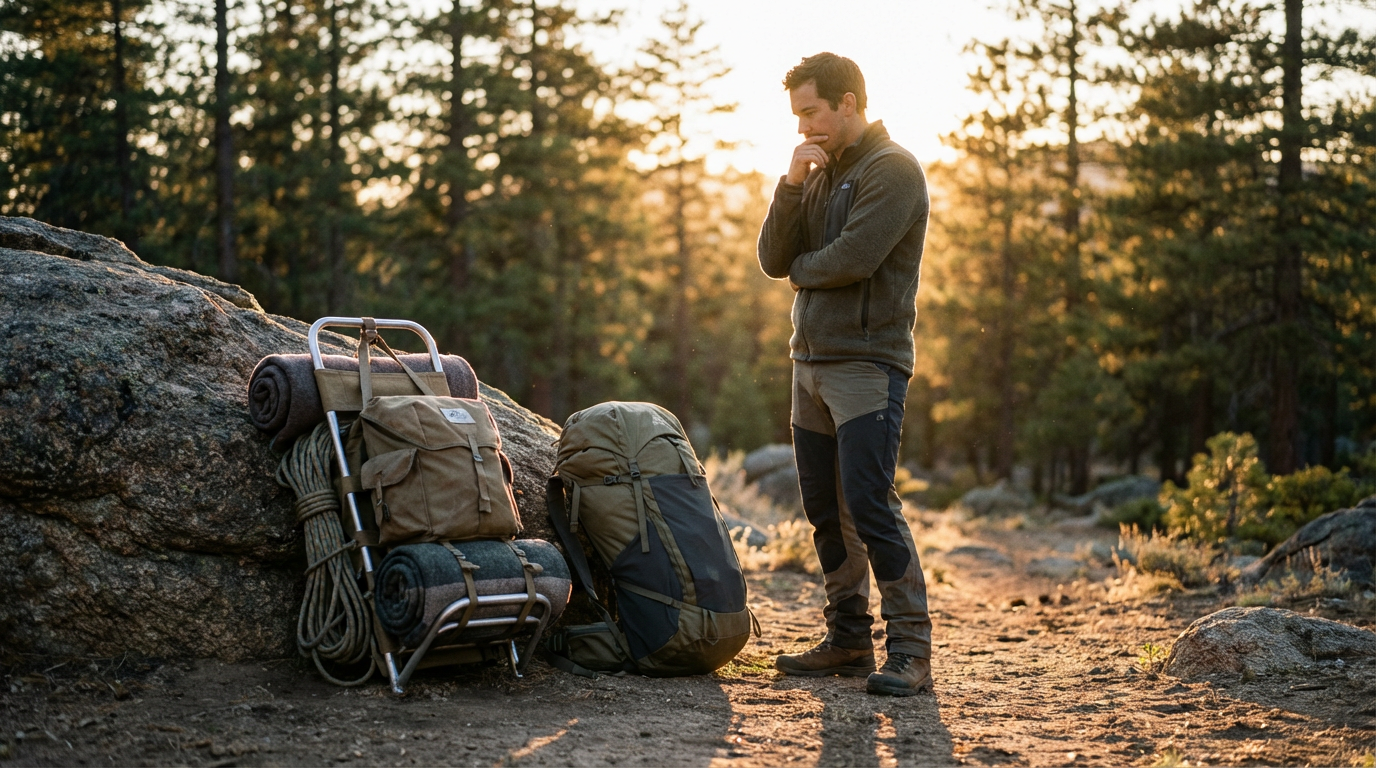
Forget the color. Ignore the brand logo. When you’re standing at mile eight with your shoulders screaming and your lower back staging a full rebellion, the only thing that matters is whether that pack was fitted correctly before you ever left the trailhead.
I’ve watched rangers, guides, and seasoned thru-hikers make the same mistake year after year: they choose a backpack based on capacity and price, then wonder why three days in the backcountry feels like a physical punishment. A $300 pack that fits your body will outperform a $600 pack that doesn’t, every single time. That’s not an opinion that’s basic physics applied to human anatomy.
After 15 years carrying gear professionally and teaching wilderness packing courses internationally, I can tell you that backpack fitting is the most consistently skipped step in outdoor preparation. This guide fixes that. We’re covering frame types, capacity matching, torso measurement, hip belt mechanics, and the features that actually matter so you can stop guessing and start moving.
Internal Frame vs. External Frame: The Decision That Defines Your Pack
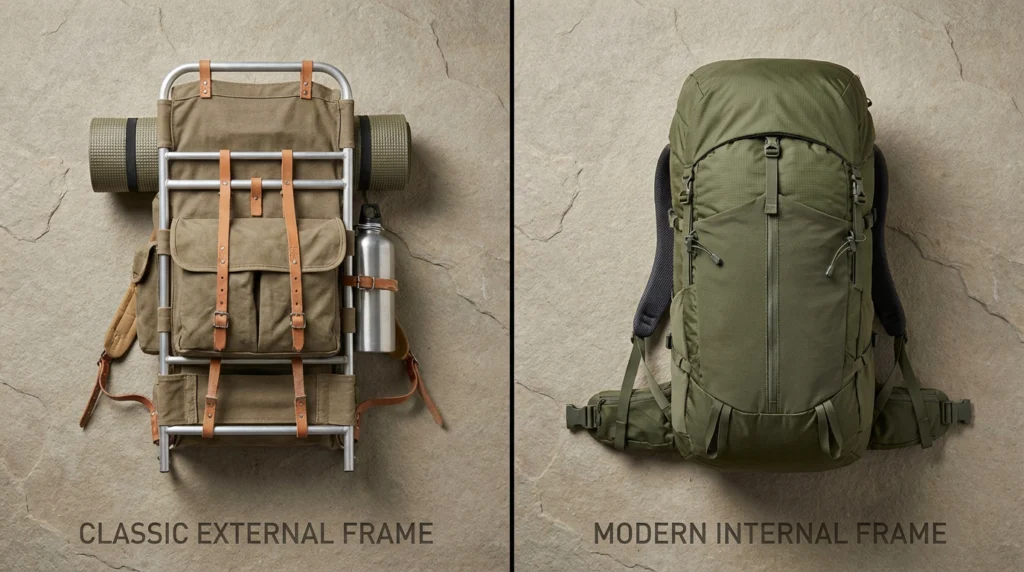
This is the first fork in the road, and most people don’t understand what they’re actually choosing between.
External frame packs are the classic design a rigid aluminum or steel frame worn outside the pack fabric, keeping the load held away from your back. That gap creates meaningful airflow across your back, which matters enormously on hot-weather trips. The exposed frame also lets you lash oversized gear rolled sleeping pads, ice axes, skis, or camp furniture directly to the outside. External frames excel at moving heavy, awkward loads over established trails. If you’re hauling 60-plus pounds of gear on a maintained path, an external frame distributes that weight onto your hips and legs more efficiently than almost any internal frame.
Internal frame packs dominate modern trail use for good reason. Two aluminum stays run vertically inside the pack against your back, and critically they can be bent and shaped to match your spine’s curvature. This creates a custom fit that external frames simply can’t replicate. The pack sits flush against your body, keeping your center of gravity stable over technical terrain, through brush, on scrambles, and across uneven ground. When the trail stops being a trail, internal frames keep you balanced and in control.
Here’s what the marketing doesn’t tell you: internal frames heat your back up. That flush contact that makes them so stable also traps body heat. Most manufacturers address this with ventilation channels or suspended mesh back panels if back temperature matters to you, look specifically for these features.
The honest summary: Choose external frames for heavy loads on maintained trails or canoe portages. Choose internal frames for virtually everything else technical terrain, bushwhacking, backcountry travel, and multi-week expeditions.
Capacity: Matching Liters to Trip Length
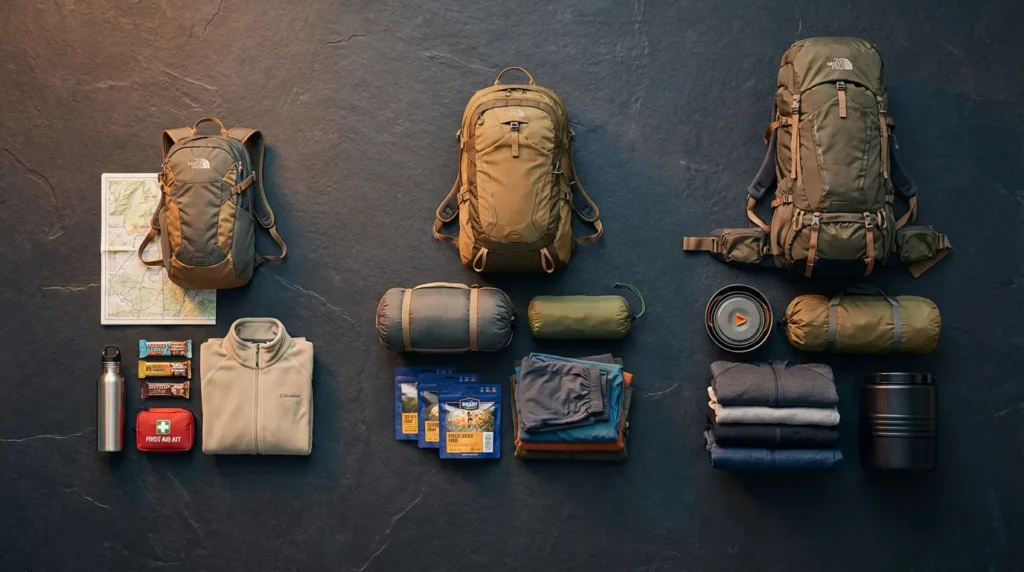
Capacity is measured in liters, and the right number depends almost entirely on how many nights you’re spending out.
Think of it this way: liters measure volume, not weight. A 65L pack carries the same volume whether it’s filled with feathers or rocks. Your job is to match the container to the contents your trip actually requires.
Day Packs (10–30L): Summit attempts, day hikes, or short excursions from a base camp. Water, food, a layer, and emergency gear. Nothing more is needed, and anything larger just becomes dead, frustrating weight.
Weekend Packs (30–50L): Two to three night trips. At this range, ultralight hikers can comfortably fit four-night kits if their sleep and shelter systems are optimized. For most campers packing a standard complete camp sleep system tent, sleeping bag, pad a 40–50L pack handles two nights cleanly.
Multi-Day Packs (50–70L): The sweet spot for three to five night expeditions. This range covers the majority of backpacking trips taken by recreational campers. Enough volume for a week’s worth of food on a calorie-efficient diet, all shelter gear, clothing, and safety systems.
Extended Expedition Packs (70–85L+): Trips exceeding five nights, or any scenario involving bulky specialized gear winter camping, technical climbing equipment, or extended off-grid travel. At this volume, weight becomes the primary concern. A full 80L pack loaded to capacity is a serious physical undertaking.
One rule I enforce with students: if you’re consistently maxing out your pack’s capacity, you have a packing problem, not a volume problem. Address what you’re carrying before buying a larger container.
Torso Length: The Number That Actually Matters

This is the most important measurement in backpack fitting, and it has nothing to do with your height.
Tall people can have short torsos. Short people can have long ones. I’ve fitted packs on 6-foot-2 hikers who wore a small torso size, and 5-foot-4 hikers who needed a large. Height tells you almost nothing about pack fit.
How to measure your torso length correctly:
- Tilt your head forward until your neck flexes. Find the bony vertebra that protrudes at the base of your neck this is C7, your starting point.
- Stand upright and place your hands on your hips, thumbs pointing backward, fingers forward. Find the top of your iliac crest the curved ridge of your hip bones.
- Have a partner measure the distance along your spine between C7 and the imaginary horizontal line connecting your thumb placements.
That measurement is your torso length. Most adult torso lengths fall between 14 and 21 inches. Size charts vary by manufacturer, so always cross-reference against the specific brand’s sizing guide rather than assuming a universal standard.
A correctly fitted pack positions the hip belt centered over your iliac crest not sitting on your waist, not riding high on your ribs. If the hip belt is in the right position, the shoulder straps should arc smoothly up and over your shoulders without gaps and without digging. This alignment is everything.
The Hip Belt: Where Weight Transfer Happens
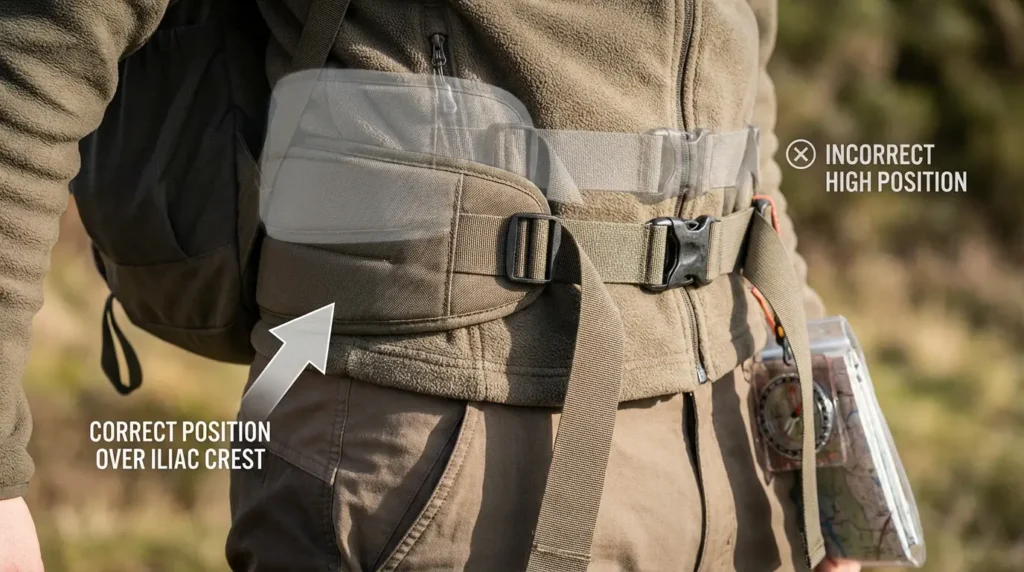
Most hikers understand that the hip belt exists. Far fewer understand what it’s actually doing.
Your hips and legs are biomechanically far better suited to carrying heavy loads than your shoulders and spine. A properly fitted hip belt transfers 70 to 80 percent of the pack’s total weight directly onto your iliac crest and into your legs, leaving your shoulders to handle stability and balance rather than raw load-bearing.
When hikers complain about shoulder pain on long days, nine times out of ten the hip belt is either too loose, positioned incorrectly, or the wrong size for their hip circumference. Cinch the hip belt first, then snug the shoulder straps. Never do this in reverse if you tighten the shoulder straps first, you pull weight back onto your shoulders and defeat the entire purpose of the transfer system.
Hip belt padding matters significantly at loads above 30 pounds. Thin foam hip belts that work fine for day packs will cut into your iliac crest painfully by hour six of a loaded carry. For expedition packs, look for anatomically contoured foam with enough stiffness to bridge your hip bones rather than compress into them under load.
Fitting Your Pack: The Step-by-Step Process

A great pack improperly adjusted performs like a mediocre pack every single time. Run through this sequence every time you load up:
Step 1 — Loosen everything. Every strap should be completely slack before you put the pack on.
Step 2 — Position the hip belt. Place it centered over your iliac crest and buckle it snugly. This sets the foundation. Everything else adjusts around this position.
Step 3 — Tighten the shoulder straps. Pull them forward until the straps follow your shoulder contour without gaps or pressure points. They should curve over your shoulders, not pull straight back.
Step 4 — Adjust the load lifters. These short straps connect the top of the shoulder straps to the frame near your shoulders. They should angle at roughly 45 degrees upward. Too loose and the top of the pack sways away from your body. Too tight and the shoulder straps lift off your shoulders unnaturally.
Step 5 — Tighten the sternum strap. This connects the shoulder straps across your chest and prevents them from sliding outward on your shoulders. Position it at a comfortable chest height and tighten until the shoulder straps feel stable not so tight it restricts breathing.
Step 6 — Walk, adjust, repeat. Fit is dynamic. After five minutes of movement, check everything again and make micro-adjustments.
Key Features Worth Evaluating
Beyond frame type and fit, these features meaningfully affect performance not gimmicks:
Hipbelt pockets: Small zippered pockets on the hip belt wings keep snacks, a phone, and lip balm accessible without removing the pack. Underrated convenience on long days.
Top lid (brain) vs. roll-top: Traditional top lids with zippered pouches are excellent for organizing small items. Roll-top closures are more weatherproof and adjust to load volume. Neither is universally better match this to your organizational preference.
Sleeping bag compartment: A bottom zipper that separates the main body into two sections. Useful for organized packing but adds weight and a potential failure point. Skip it if you pack efficiently.
Frame sheet removability: Many packs allow the internal frame sheet to be removed, reducing weight for ultralight applications or converting the pack to luggage. Useful versatility on hybrid trips.
Integrated rain cover: More convenient than a stuff-sack cover but adds permanent weight. For consistently wet climates like the Pacific Northwest, worth having. For desert or alpine use, arguably unnecessary a pack liner works better anyway.
Women’s specific fit: Women’s packs feature shorter torso lengths, narrower shoulder straps, and hip belts contoured for wider hips and a more pronounced waist. The difference in comfort over a multi-day trip is genuine women should always try both gender-specific and unisex options before buying.
Capacity, Frame, and Trip Type at a Glance
The “Buy Once, Cry Once” Pack List
I’m a minimalist. I believe in owning a few excellent things rather than many mediocre ones. For backpacks, here’s my honest framework:
If you camp one to three nights at a time, rarely, buy a single quality 50–60L internal frame pack that fits your torso correctly. It covers weekend trips and has enough volume for an occasional longer adventure. Don’t overthink it.
If you camp across multiple styles car camping trips with family and solo backpacking consider two dedicated packs: a large external or high-volume internal for base camp use, and a trim 45–55L internal for trail use. The right tool for each job beats one compromise every time.
If you’re investing in an expedition-worthy kit, the pack is where I’d spend money without apology. A properly fitted, high-quality pack that pairs with your camping layering system, your tent and shelter choice, and your camp kitchen essentials creates a coherent system that makes every mile easier. Skimping on the one thing that holds everything else is exactly the kind of logic that turns a great trip into a painful one.
Whatever style you choose, remember that your shelter, sleep system, camping lighting and power gear, and clothing all have to fit inside this pack. Build your kit holistically the pack is the container for your entire outdoor life. Choose it like it matters.